Showing posts with label sewing. Show all posts

Sunday, February 24, 2013

One mans trash is another mans treasure...

The last two days I've been quite busy so today I was looking at sitting down, slowing down and working on some orders. 

Err!! Wrong!!

My nan is having a rearrange around in her part of the house and wanted to be able to use some of her sideboard storage. Part of her sideboard has all old sewing stuff in it, bits and pieces of material, patterns, embellishments etc that she has kept over the years. So I was lucky enough to be given some of this but I also had to sort through it and keep/chuck stuff. 

So lets start with the treasure..... (excuse the bad phone photos)

Here are some drawings that my Nan done. The first photo, bottom left drawing was actually copied from an advert for copact mirrors which was in with the drawings. I'm not sure where all the others originate from. I'm not sure what to do with them. Might see if I can find two frames to put them in??


 Next I found a massive stash of patterns. Majority of these patterns are dresses and clothes, older style but there is some kids patterns as well as one set for bridal veils! Anyone need a veil? lol


This is the newest out of all the patterns. I actually used this for one of my sewing assignments where we had to make a child toy of some sort. I used the ladybug pattern and from what I can recall she had bells in her feet and I think some crinkly stuff in the spots or something?? I wonder where that ladybug is now...hmm?

But anyway I saw the cute little bunny rabbit and thought she might given a go soon :)


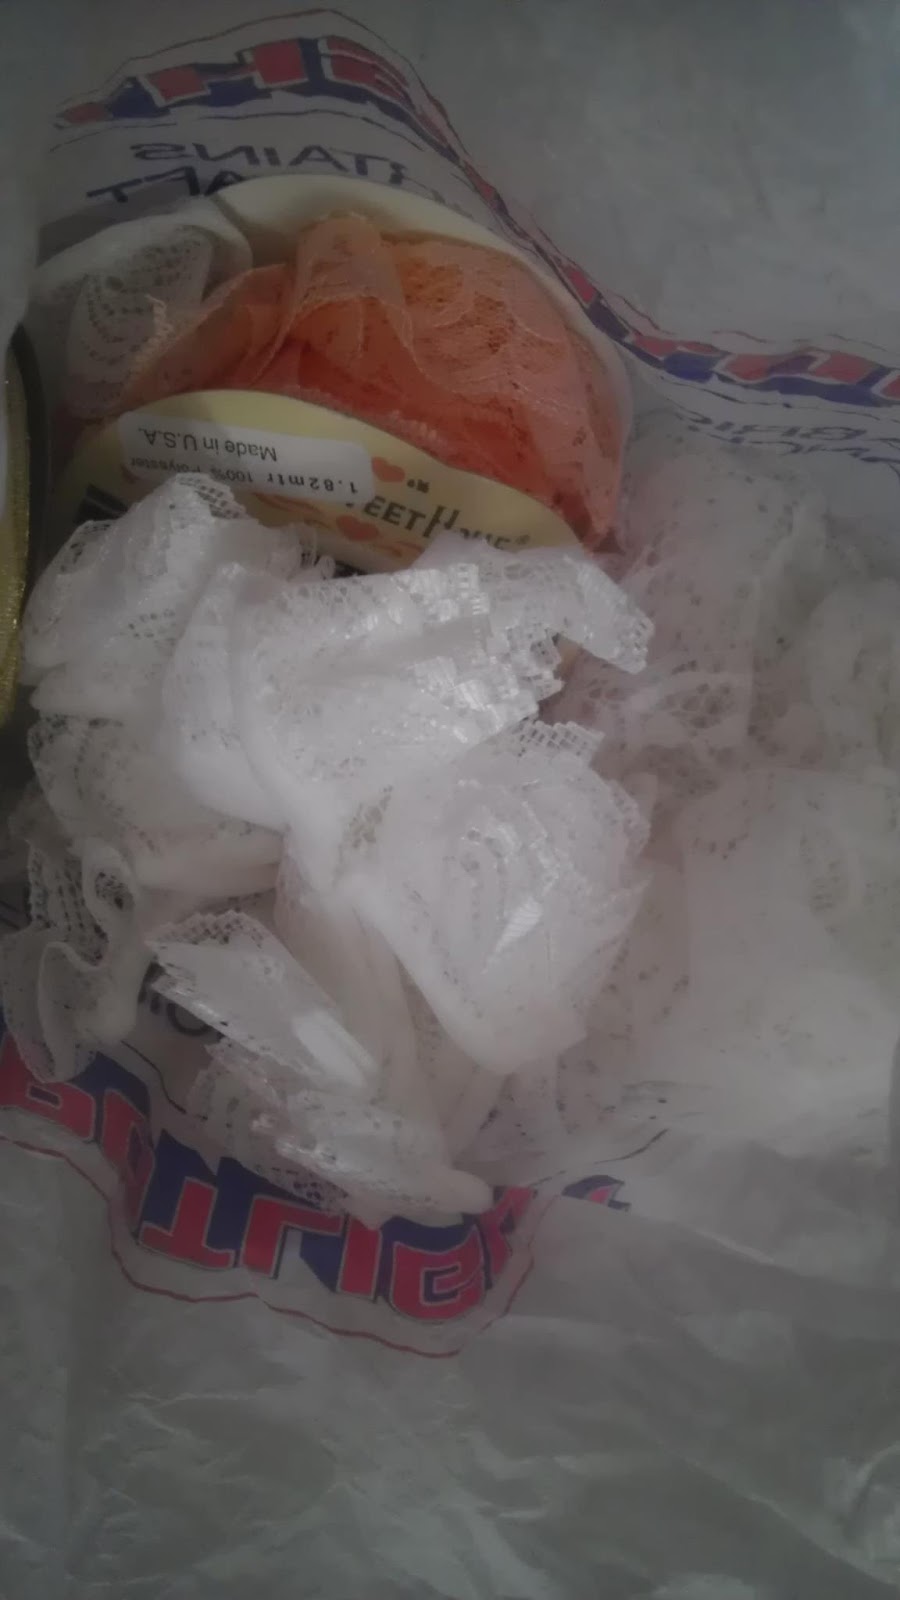
Next came going through all the bags which had material, lace, tulle...you name it and it was in there! I am lucky that a lot of it I am able to use in my designs!

Some lace and some tulle....


Some lace trim which I can use on my tops! Yay!

This is a very pretty floral print which I am going to turn into a bag for a friends daughter for her birthday. These are some of her fav colours.


There is a whole heap of maroon velvet....and I have NO idea what to do with it. I am not overly keen on velvet but I thought I would keep it 'just in case'. 


I have never worked with fur but I got some lovely light pink and purple fur. Maybe I can use it the make the bunny pattern above?

Then here is another pile of mixed fabrics. There is some organza, cotton, denim, calcio...


Then there is this stuff.....I'm not 100% sure what I can use it for but there was almost a whole roll and I thought it might come in handy??


Some big and pretty appliques which I think I'll be putting on headbands. 


Last but not least is this skirt. For some background knowledge...when I was doing dancing when I was younger my Nan used to help out with some of the costumes. This one wasn't for a dance I did but for some older girls. I'm not sure if this was one that was left over or a prototype but it is a little bit tight when I put it on however thought it would be good to keep for a dress up party or something!! I only need to move the button a little bit (or lose some weight) and it'll be a bit more comfy. 


You can even see from this pic that it has the top checked layer then another black layer and then a cute layer of bright tulle with a ruffle. From what I can recall all the girls had different coloured tulle as during the dance they had to hold their skirts up for something....hmmm it was a long time ago!


Hope you all have had a great weekend and kept out of the yukky weather!


TTFN xx

Sunday, January 13, 2013

Coaster to Coaster....

Here I am blogging for a second time in one week..W.O.W! ha!

I finished off my little coasters the other night when I was having issues with sleeping. I think it would have been around 10pm or something like and I had got the urge to do some sewing so I thought my coasters were simple enough to do while my eye sight wasn't 100%.

I think they turned out pretty good and not really THAT big once I put my cup on them. What do you think?


I am also starting work on an idea I had before Christmas. My tooth keepers/pockets/pouches etc. I have changed the pattern as I found making the lined drawstring bag too difficult with it being so small. So instead I am going to be doing a simple little open top bag that kids can hang on their door handle or a hook or something else of their choice with the tooth pocket still on the front. The bag will be slightly bigger than the r

For the girlie bags I thought I could add a little bow to the tooth which is pictured below...isn't it cute!?! I'm going to be making a purple or maybe lavender one next so this little tooth will be the star of the show on the front!


TTFN xx

Friday, January 11, 2013

Sew far sew good...

Hey Peeps!

I have been a busy little bee this week working on a multitude of different things! It's safe to say that I have spent most of this week of my holidays at home in my sewing room.

First I'll start it off with one of my new flowers that is being added to BB's range this year. The 'Blossom'. These are totally handmade by moi, apart from the chiffon itself. I cut out each petal (painfully) and then seal the edges of each petal with a candle (can get hot) and then fold and sew each petal to create the pretty little flowers you see below! Each flower consists of 8 petals so you can probably imagine the work that goes into each one. I'll be stopping into the shop I bought the chiffon from in a couple of weeks to expand my colour range...think I might look at peach, buttercup annnndddd turquoise??


Here is a piccie of one of the large blossoms on a skinny headband. I...love...it!! I've also made the blue flower above into a pretty little headband too :)


These are two bubba elastic headbands that I have made for a friend. The white is a medium blossom and the pink/purple are two small blossoms put together. I usually stick with odd numbers but three small blossoms was just too much for this newborns headband.

Too cute!


I can hear you all yelling at me now..."WE'VE ONLY JUST GOT OVER CHRISTMAS'! I know I know! Easter is a little far ahead to be thinking but I saw something like these the other night and just HAD to make them. Since my twinny niece and nephew are lactose intolerant (which I forgot at Christmas time, D'oh!) I thought that these bean bag bunnies could be a good alternative for them to play with at Easter...or anyday!

This is my little bunny below. Now I didn't double stitch my bunny and after chucking him around and squishing him (because I love the feel of bean bags) I noticed he started to pop a hole *insert sad face here*. So I have put some fray check on him and will mend his little hole soon so I can start throwing him around again. I also made him a little bean bag carrot but won't be making anymore of those as they are too fiddly!


However the bunnies you see below are for my niece and I have reinforced certain areas of the bunnies with triple stitching and added some fray check to curves to hopefully stop any threads from tearing. Bean bags get a pretty good workout you know!! Plus this pink gingham fabric is slightly better quality than the purple one above. I can't remember where I got the purple from but I won't buy there again!!

Then you pretty much play toss the bunnies!! I thought by making three different sizes they could be worth different points plus they are different weight so you have to change your throwing style. 

You can see my awesome tossing skills below. I got a goal!!...or...basket!!

Actually I lie. I took a bunch of photos and put a couple together that made it look like the bunny was going in. I didn't get it in once. But you try taking photos with one hand as well as throwing in the bunny bean bags...it's hard work! Anywho.....

I have a baby shower to go to tomorrow and I picked this cute little hat up ages ago and wanted to dress it up. I was putting flowers etc etc but they all looked too 'OTT'...my friend isn't having a drag baby. So I went with these yoyos which add a little bit of prettiness to the hat while still not being too overbearing with the bright colours. 

I told ya I wasn't getting ahead of myself with the Easter stuff. Here are some Valentines inspired yoyo clips with COVERED BUTTONS! I am finally using my buttons and I luuuurve them! I have a couple more heart fabrics that I want to use to make a couple more. 

*starts singing "I've got that loving feeling"*

Last but not least here are my unfinished coasters! When I was cleaning up my bedside tables I wanted something a bit more exciting than my now cork/shell type coasters. So I went to the net and did a little research and came up with these!

They could be a little bit too big or bigger than what I originally wanted but either way they will do their job! I have the a lovely cherry (although it said lollipop on the material) pattern with a medium pink plain fabric on the back. I have a layer of flannel in the middle for extra absorbency as well as giving the coasters some 'body'. I just need to top stitch these babies and they'll be ready to roll!!

Hope everyone has been able to escape the stupid heat we're having!! It's meant to be about 40 outside today but I have been chilling inside in a relaxing 23 degrees. Thumbs up for air con!

TTFN xx

Thursday, January 3, 2013

Happy 2013!!

Happy New Year everyone!!!

Hoping you like the new layout for BB's blog. I thought it was in need of a make over and I tried to incorporate some boy-ish tones since now I have expended my range to more than just girls hair accessories! I will be applying these colours to the Facebook page as well when I re-do all the banners etc. Unfortunately I still have a lot of business cards and stuff so I will be sticking with the pink/grey/black with them for a while still.

Today is my first day back at the sewing machine for 2013 and I'll be showing you guys what I am working on, on Friday. Why Friday?? Well I have made it a BB resolution to try and blog once a week and my designated day will be a Friday. 

Anywho, off to work I go!

TTFN xx 

Wednesday, August 22, 2012

Pretty Bums..

Well last Christmas I was going to try my hand at making some nappy covers/bloomers to create matching sets with the tops...but...because I left it so close to Christmas I thought I would just rush them and I wouldn't be happy with them. So with it only being about 4 months till Christmas...(yes 4months!) I thought I would start thinking about some festive designs for BB. I have studied the nappy cover again and thought to myself "You know this looks pretty easy and I'm sure I could make a couple by christmas to have as sets. Some is better than none..right??" RIGHT. So here is my attempt at my first ever nappy cover.


So I chose this cute hot pink with white spots material and cut out my pieces. I had to sew each of the sides and the crotch area and then overlock them. Well...I don't have an overlocker so this was a new learning step for me! I was testing out overcasting stitches and settled on this one which I thought looked the best and worked the best with the fabric. Looks alright and saves me going out and getting an overlocker for $300-$500.


Once that was done then you have to 'overlock' the leg holes and the waist band. I found this step to be allllright but when I came to the seams the material seemed to go a little weird on me which left the leg holes a little bumpy but again....alright for my first go!


The legs and the waist have to have elastic put in them to make it gather and grow with the bubs so I had to make a casing on the legs and on the waist. Now it did say in all of the tutorials that I have read that the leg holes can be a little tricky as they are on a curve and you just need to work with the material.

HA!

That was an understatement! This part took me FOR..EV...ER! I must admit that I do get frustrated easily and tend to give up on things if I can't do them. I had done one leg and it looked ok and wasn't TOO hard but then I got to the second leg hole and this is where it came undone. I had to get up from my machine half way through and google tips and tricks (which didn't help) and then go off and distract myself for 10minutes so that I could sit back down feeling a little freshened up.

I must say the leg holes weren't perfect but as the tutorials say, once you put the elastic in then majority of the little imperfections seem to melt away. Well I had a few big imperfections as I could still see them once the legs were complete but I am still happy with how it turned out. I am hoping to test it out on my friends bubba girl this week to see how it fits.


TA-DA! This is the finished product and a much better photo than the ones above. I suppose that happens when you have terrible lighting and are using a phone camera :)


So now I am onto my second nappy cover and did this one a little differently. You know how I said I had issues overlocking the leg holes and stuff?? Well I did it before sewing any seams..duh Bree! So the tops and leg sides/holes were done while it was still in two pieces instead of one! 

Also I am not afraid of using as many pins as I need now. I used to try and use as little pins as I need as I don't like leaving pin holes and I just find them annoying but I have given up on that way of thinking now. 


Here is the product so far! Now I just need to iron over my casings and then do my FAVOURITE (not) step and see if having a more even leg hole makes a difference. Keeping my fingers crossed doing it this way makes it a tad easier.

Keep watching this space for an update!

TTFN

Monday, July 9, 2012

Bows and Booboos

Hey my peeps!

OK so I haven't been updating as often as I would like but I forget to update and then when I DO go to update I really have nothing to update about. However! I do have a couple of little things to share with you guys.


Firstly my owls are doing well! By 'doing well'...I mean look good! I have made two...well three. I have made two for my niece and nephew as well as one for myself and then have another two in the works for my older nephew and my friends little girl. All of their birthdays are within 2 weeks of each other as well as mine in there too so I will be all birthday'ed out. My youngest niece and nephew are twins and their owls are above with their initial on the bum. I thought it might be a nice personal touch. I have also added the initial to the other two I am working on. When I eventually get to selling these cute littls hoots, the personalised initial will be optional and at an extra charge.

I really need to find a reliable felt supplier as I can never count on Spotlight to have what I need. It's always the way that when you need something they don't have it. *sigh* Anyway so thats what I am up to tonight, sourcing felt! (as well as updating my blog).

As I mentioned in my previous post I am now making 'mini bows' which are super cute! One of my customers bought some for her Blythe dolls. Don't know what a Blythe doll is?? Well just Google it! hehe They are rather cute, spunky and got some serious attitude! Here is a pic she sent me of her girls modelling their new accessories. I think they are perfect!


So getting back to my owls. I have made a smaller pattern to make a 'baby' owl which is looking great so far. But the other day I ran into some trouble...not with the owl....just with my own clumsiness. So I was putting some fray stop on the opening where I turn the owls inside out....or is that outside in? Either way...right side out! I do this so that the material doesn't fray as I am working with it and this makes it easier to stuff and sew up in the end. Well I was doing this and forgot to put the lid back on the fray stop and bang....spilled it all over my sewing table and almost all over my bobbins (thank god I didn't). So I took everything off the table including the little table cloth thing which got wet in one corner and put that in the sink to soak. As I was wipping up the liquid it started to go sticky (which it does when it dries) and I did the best I could to clean it all up.

HOWEVER...it obviously happened for a reason because this made me make a little sewing caddy type of thing to hold my scissors and a few bits and pieces. Since I had the table all cleared off I thought it would be the best opportunity before putting it all back on. So here is my little master piece.

I could quite easily make another section to hang down lower or have a wide pocket if I wanted to further down the track. But at the moment it gives my scissors a nice little home and keeps them off my tiny sewing desk. I did the stitching in hot pink to match my 'table cloth' which you can kinda make out in the picture. Ignore the mess in the background =)

Hope everyone has had a good weekend!

TTFN xx

Tuesday, August 30, 2011

Sewing Project: Dress up a hand or tea towel.

Well today I got out my sewing machine, laced it up with some pink thread and got myself going on a new project. This one is for my mums birthday. I bought an apron for her cake deco class and I couldn't find a nice tea towel to match so I went out and bought another apron and decided to cut it up and decorate a hand towel with that! So here is my hand towel and my fabric from the apron under it.


I wanted to create a little strip of fabric on either end of the towel, a bit bigger than the little patterned bit. First I cut two pieces from the fabric that was bigger than what I wanted the finished piece. My pieces were around 36cm long and 15cm wide.


Next give the pieces a good iron to get the creases out if there are any. Then I folded each end in around 2cm each and pinned to hold in place. Put this on your towel just to double check the size and if you need to make any changes. Then iron the ends to make nice and neat.

Fold the top and bottom bits to create the desired width of your fabric strip. I had to fold mine down approx 4.5cm on each side so that I was left with a 6cm strip. Pin and iron to hold in place.


Once this is done I then placed my strip on the towel and pinned this is place to help when sewing. I started sewing at the green circle and finished at the yellow circle. It was done in all one go but you can do each side seperately if you prefer to do it that way. Make sure to reinforce all of the start and finishing stitches. I did this on most corners anyway just to make it a bit stronger.


My seam that I used was about 1/4inch (i think). I used the little guide on my foot to make sure I kept it as even as I could.


When doing the side where you have all the towel to contend with I just rolled it up so that my arm sat against it when I sewed and I could slowly feed it through with my arm. It was a bit tricky but the best I could come up with.


Here is one side all finished! Looks pretty good, hey?! Well I am impressed and it's going to match the apron perfectly. I was considering adding some lace to the edge under the fabric but I gave that idea a miss. Don't want to make it too difficult for myself.

I think I might be making some more of these for christmas presents!


Here is a pic of the finished product. Front pic, close up and then pic of the back. Didn't turn out too bad apart from some uneven stitching here and there.


Tuesday, May 17, 2011

Sewing Machine Alert!

This will be my new baby in August!! I feel kinda lame getting excited over a sewing machine but it is my first machine of my own and who knows what I'll end up getting my little fingers into once I get going.

It will be very interesting to see how I go with my sewing and learning how to use this machine properly. I haven't sewn for at least a year or more when I was getting into making bags...well..'a bag'. While I love some of the bag patterns around it just seemed like too much work and I didn't enjoy it as much as other crafts. Then the time before that it would have been doing textiles at school when I was 14 which is over *cough* 10 years now.

I have been told that it is a great machine and it does over 135 stitches, although I don't think I will be using them all LOL It also does a font so I may be able to personalise some of my things which would be nice!

Oh I also found some black sequins!!! Yipee!! Now I can finally finish my embellished top and also find some time to do it.

Anywho just a quick post from me today.

TTFN....